Chicken Biryani (Step-by-Step Easy Home Recipe)
Chicken Biryani is one of those dishes people love eating but feel nervous cooking at home. It has a reputation for being complicated, spicy, or easy to mess up. The truth is — good biryani is about order, not difficulty.
This recipe breaks the process into clear, manageable steps so you can make flavorful, aromatic chicken biryani at home without stress. No shortcuts that ruin taste, and no unnecessary steps that confuse beginners.
This version is ideal for:
- first-time biryani makers
- home cooks without special equipment
- anyone who wants balanced flavor, not overpowering spice
What Makes This Chicken Biryani Different (Read This First)
Before cooking, it helps to know why this recipe works:
- Uses simple spices, not long hard-to-find lists
- Focuses on proper marination, which builds flavor naturally
- Clear rice-to-water method to avoid mushy rice
- Layering explained clearly (this is where most people fail)
If you follow the steps in order, you’ll get fluffy rice, tender chicken, and real biryani aroma.
Ingredients You’ll Need
For Chicken Marinade
- Chicken (bone-in pieces recommended)
- Yogurt (thick, plain)
- Ginger garlic paste
- Red chili powder (adjust to taste)
- Turmeric powder
- Garam masala
- Lemon juice
- Salt
For Rice
- Basmati rice
- Water
- Salt
- Whole spices: bay leaf, green cardamom, cloves, cinnamon
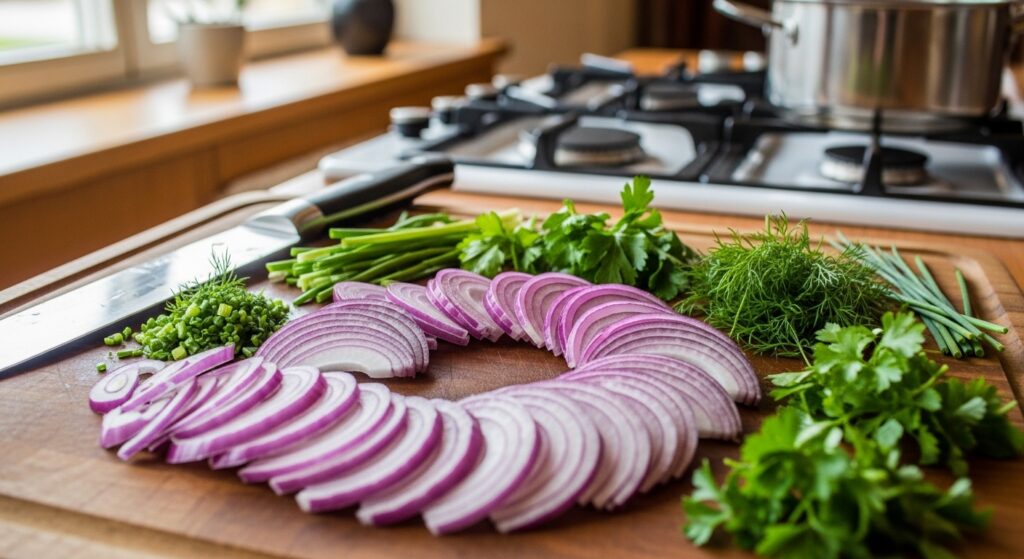
For Biryani Masala Base
- Onions (thinly sliced)
- Cooking oil or ghee
- Tomatoes (optional but helpful)
- Green chilies
- Fresh coriander
- Fresh mint
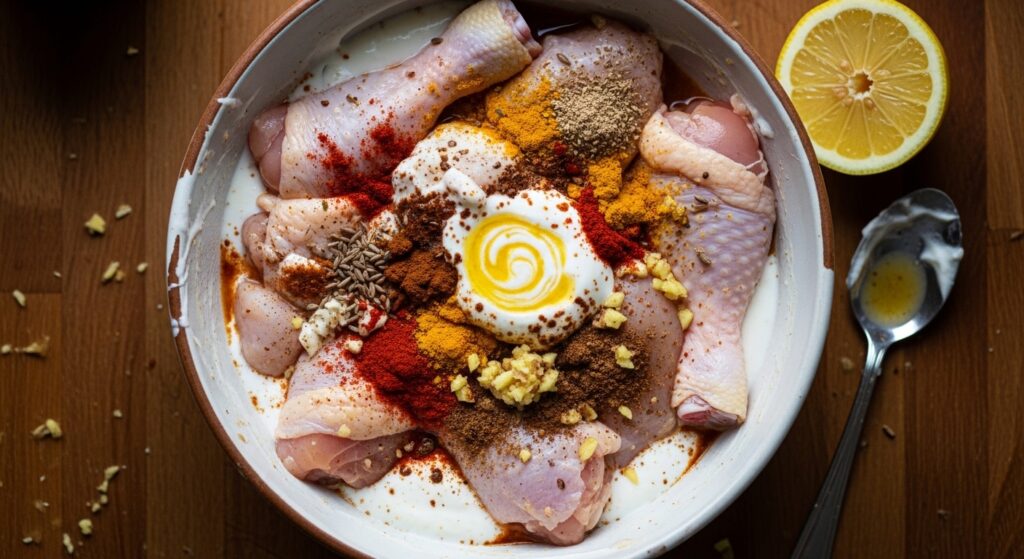
Step 1: Marinate the Chicken (Do Not Skip or Rush)
In a large bowl, mix chicken with yogurt, ginger garlic paste, spices, lemon juice, and salt. Coat the chicken evenly.
Cover and rest:
- Minimum: 30 minutes
- Best: 2–4 hours (refrigerated)
Why this matters:
Marination softens the meat and lets spices go deep inside. Without this step, biryani tastes flat.
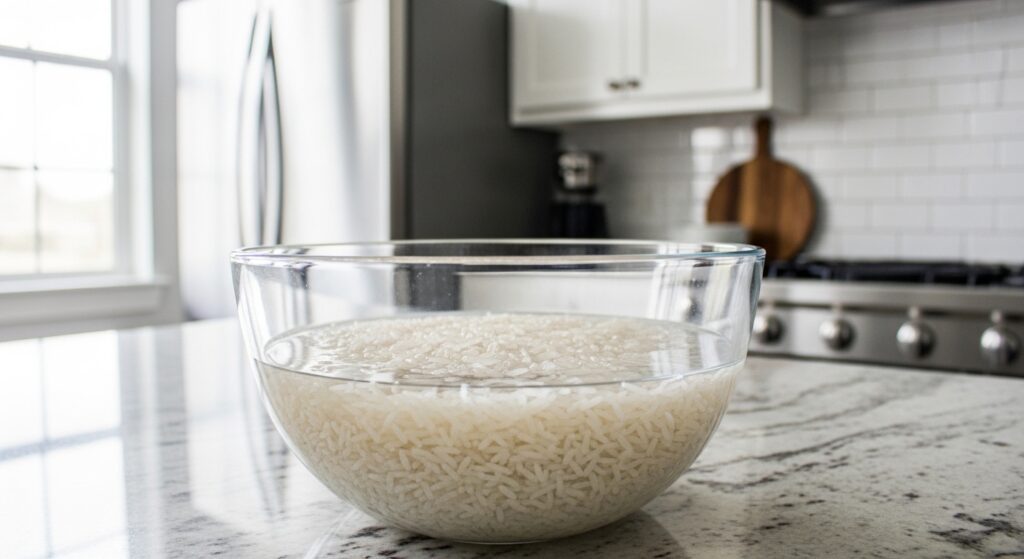
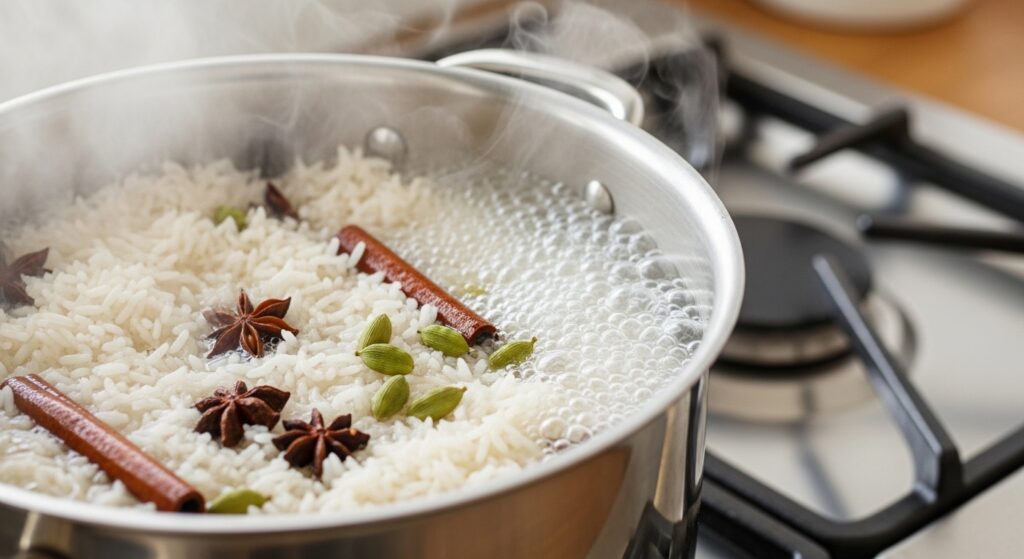
Step 2: Prepare the Rice Separately
Wash basmati rice until water runs clear. Soak for 20–30 minutes.
Boil a large pot of water with salt and whole spices. Add rice and cook until 70% done — rice should still have a slight bite.
Drain immediately.
IMPORTANT TIP:
If rice is fully cooked now, biryani will turn mushy later.
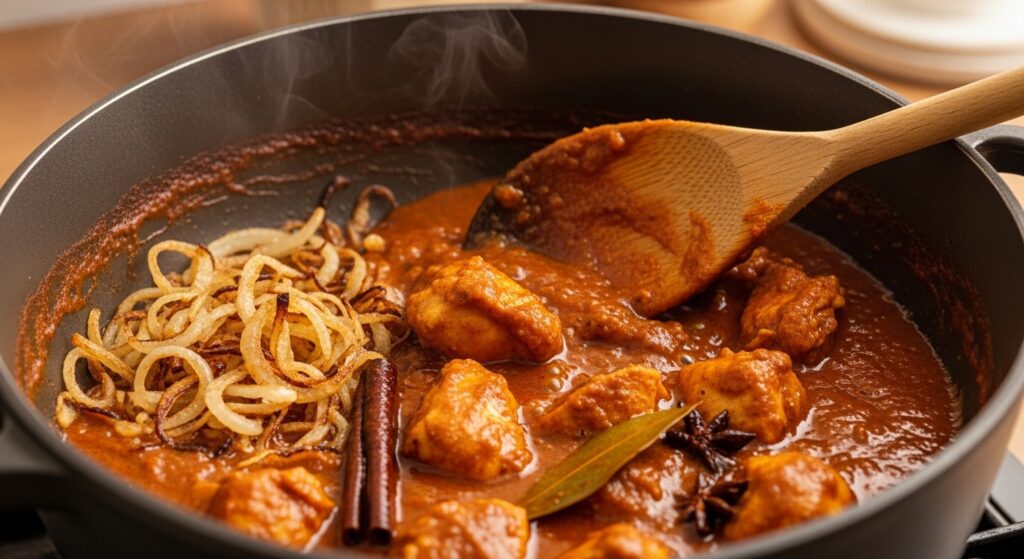
Step 3: Cook the Chicken Masala
Heat oil or ghee in a heavy pot.
Add sliced onions and cook until deep golden brown (this builds biryani flavor).
Add green chilies and tomatoes (if using). Cook until oil separates.
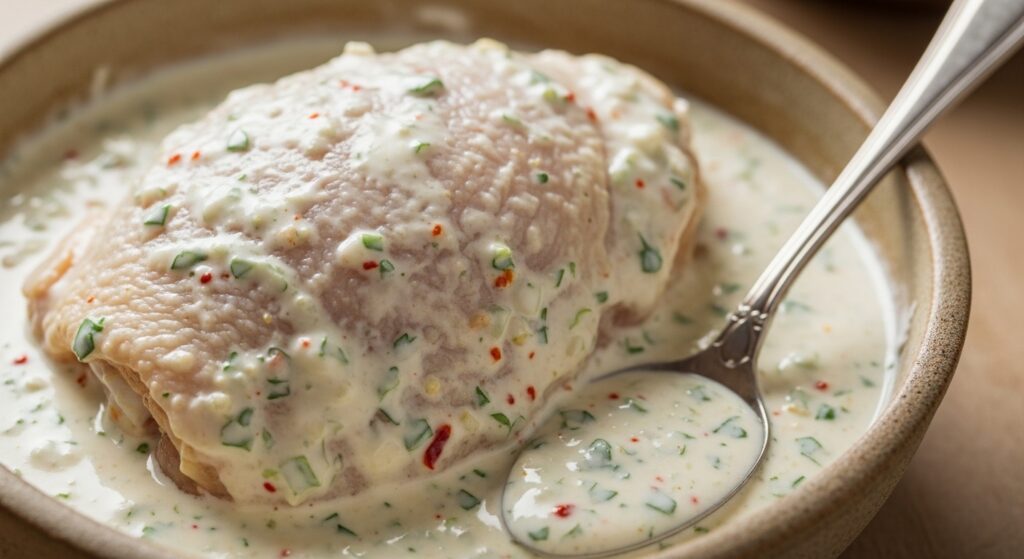
Now add the marinated chicken. Cook on medium heat until chicken is:
- tender
- coated in thick masala
- oil lightly visible on sides
Do not overcook — chicken will finish cooking later.
Step 4: Layer the Biryani (This Is the Key Step)
Lower heat.
Layer like this:
- Chicken masala at the bottom
- A layer of rice
- Sprinkle coriander and mint
- Optional: drizzle ghee or saffron milk
- Repeat until finished
Cover tightly with lid or foil.
Step 5: Dum Cooking (Final Cooking)
Cook on very low heat for 20–25 minutes.
This allows:
- steam to finish cooking rice
- flavors to combine
- aroma to develop
Do not open lid during this time.
After cooking, rest for 10 minutes before serving.

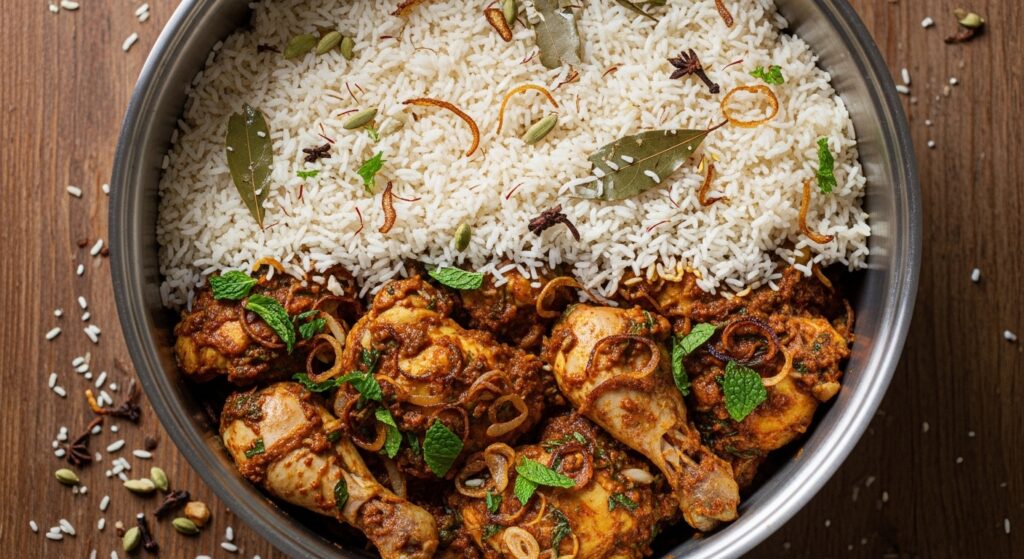
How to Serve Chicken Biryani
Serve hot with:
- raita (yogurt + cucumber)
- fresh salad
- lemon wedges
Fluff rice gently from sides before serving.
Common Mistakes to Avoid
- Overcooking rice early
- Skipping marination
- Using too much water
- High heat during final cooking
- Stirring biryani after layering
Avoiding these alone improves results by 50%.
Storage & Reheating
- Refrigerate up to 2 days
- Reheat on low heat with a splash of water
- Avoid microwave if possible (dries rice)
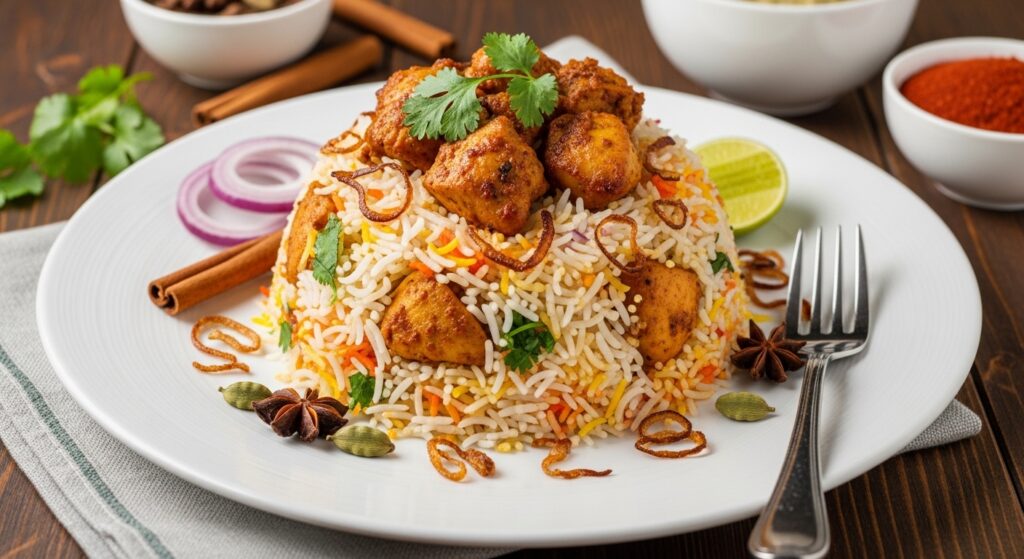
Final Thoughts
Chicken biryani is not about complexity — it’s about sequence and patience. When each step is respected, the dish rewards you with deep flavor, aroma, and texture that feels special without being overwhelming.
If you’re new to biryani, this recipe is a safe place to start. If you’ve failed before, this structure will help you understand why things went wrong — and how to fix them.